In this step-by-step guide, we will install and configure Sentry on CentOS 6. Sentry is one of the most popular error monitoring solution that helps in tracking errors and bugs.
1
2
|
sudo yum -y install wget gcc-c++ vim
sudo yum -y install python-setuptools python-devel libxslt-devel gcc gcc-c++ libffi-devel libjpeg-devel libxml2-devel libxslt-devel libyaml-devel
|
1
|
sudo useradd sentry -r -s /sbin/nologin
|
1
2
3
4
5
6
7
8
|
sudo yum install -y tcl
cd /tmp/
wget http://download.redis.io/releases/redis-4.0.14.tar.gz
tar xzf redis-4.0.14.tar.gz
cd redis-4.0.14
make
make test
sudo make install
|
Execute install script to generate redis config file, /etc/init.d script, install them and run redis server.
1
2
3
4
5
|
sudo REDIS_PORT=6379 \
     REDIS_CONFIG_FILE=/etc/redis/6379.conf \
     REDIS_LOG_FILE=/var/log/redis_6379.log \
     REDIS_DATA_DIR=/var/lib/redis/6379 \
     REDIS_EXECUTABLE=/usr/local/bin/redis-server ./utils/install_server.sh
|
Set overcommit_memory to 1 (always overcommit, never check)
1
2
3
4
5
6
7
8
9
|
sudo sysctl vm.overcommit_memory=1
sudo sysctl -w fs.file-max=100000

# to make the change permanent
# open sysctl.conf for editing
sudo vim /etc/sysctl.conf

# add below line
vm.overcommit_memory=1
|
Redis guidances on why vm.overcommit_memory should be set to 1.
Start redis on system restart
1
|
sudo chkconfig --add redis_6379
|
1
2
|
sudo yum -y install https://download.postgresql.org/pub/repos/yum/reporpms/EL-6-x86_64/pgdg-redhat-repo-latest.noarch.rpm
sudo yum -y install postgresql95-server postgresql95-contrib postgresql95 libpqxx-devel postgresql-devel
|
1
|
sudo service postgresql-9.5 initdb
|
1
2
|
sudo chkconfig postgresql-9.5 on
sudo service postgresql-9.5 start
|
1
2
|
sudo mv /usr/bin/psql /usr/bin/psql-bk
sudo ln -sfn /usr/pgsql-9.5/bin/psql /usr/bin/psql
|
1
2
3
4
5
|
sudo vim /var/lib/pgsql/9.5/data/pg_hba.conf

change ident to md5

service  postgresql-9.5 restart
|
 1
 2
 3
 4
 5
 6
 7
 8
 9
10
11
12
|
sudo yum -y install sqlite-devel zlib zlib-devel gcc httpd-devel bzip2-devel openssl openssl-devel
cd /tmp/
wget https://www.python.org/ftp/python/2.7.15/Python-2.7.15.tgz
tar zxvf Python-2.7.15.tgz
cd Python-2.7.15
./configure --prefix=/usr/local --with-threads --enable-shared --with-zlib=/usr/include --enable-optimizations
make
sudo make altinstall

sudo sh -c "echo '/usr/local/lib' >> /etc/ld.so.conf.d/python2.7.conf"
sudo /sbin/ldconfig
sudo ln -sfn /usr/local/bin/python2.7 /usr/bin/python2.7
|
1
2
3
4
|
cd /tmp/
curl https://bootstrap.pypa.io/get-pip.py -o get-pip.py
sudo python2.7 get-pip.py
sudo ln -sfn /usr/local/bin/pip2.7 /usr/bin/pip2.7
|
1
2
3
4
5
6
|
sudo pip2.7 install supervisor

sudo ln -sfn /usr/local/bin/supervisord /usr/bin/supervisord
sudo ln -sfn /usr/local/bin/supervisorctl /usr/bin/supervisorctl

sudo mkdir -p /etc/supervisor/conf.d/
|
1
|
sudo sh -c "/usr/local/bin/echo_supervisord_conf >> /etc/supervisord.conf"
|
1
2
3
4
5
|
sudo vim /etc/supervisord.conf

add below lines:
[include]
files = /etc/supervisor/conf.d/*.conf
|
1
|
sudo /usr/bin/supervisord -c /etc/supervisord.conf
|
1
2
|
sudo pip2.7 install virtualenv
sudo ln -sfn /usr/local/bin/virtualenv /usr/bin/virtualenv2.7
|
1
2
3
|
sudo mkdir -p /opt/sentry/

sudo virtualenv2.7 /opt/sentry/venv/
|
 1
 2
 3
 4
 5
 6
 7
 8
 9
10
11
12
13
14
15
16
17
18
19
20
21
|
yum -y install xmlsec1-openssl xmlsec1 libxml2 libxml2-devel xmlsec1-devel xmlsec1-openssl-devel libtool-ltdl-devel

cd /opt/sentry/
source venv/bin/activate
pip install sentry==9.0.0

check uWSGI version (using pip feeze) and if it's not 2.0.17.1 re-install it
pip install uWSGI==2.0.17.1

in uWSGI==2.0.19.1, content mismatch error in thrown and static files doesn't load in web page

in logs, below is the error

127.0.0.1 - - [24/Aug/2019:07:11:20 +0000] "GET /_static/1598253066/sentry/images/default-organization-logo.png HTTP/1.1" 200 258 "https://etsplindia.com/auth/login/sentry/" "Mozilla/5.0 (Macintosh; Intel Mac OS X 10_15_5) AppleWebKit/537.36 (KHTML, like Gecko) Chrome/84.0.4147.105 Safari/537.36"
Traceback (most recent call last):
  File "/opt/sentry/venv/lib/python2.7/site-packages/raven/middleware.py", line 100, in __call__
    iterable = self.application(environ, start_response)
  File "/opt/sentry/venv/lib/python2.7/site-packages/sentry/wsgi.py", line 44, in __call__
    response = environ['wsgi.file_wrapper'](response.streaming_content)
AttributeError: object has no attribute 'read'
|
1
2
|
# below command will create config.yml and sentry.conf.py in /etc/sentry
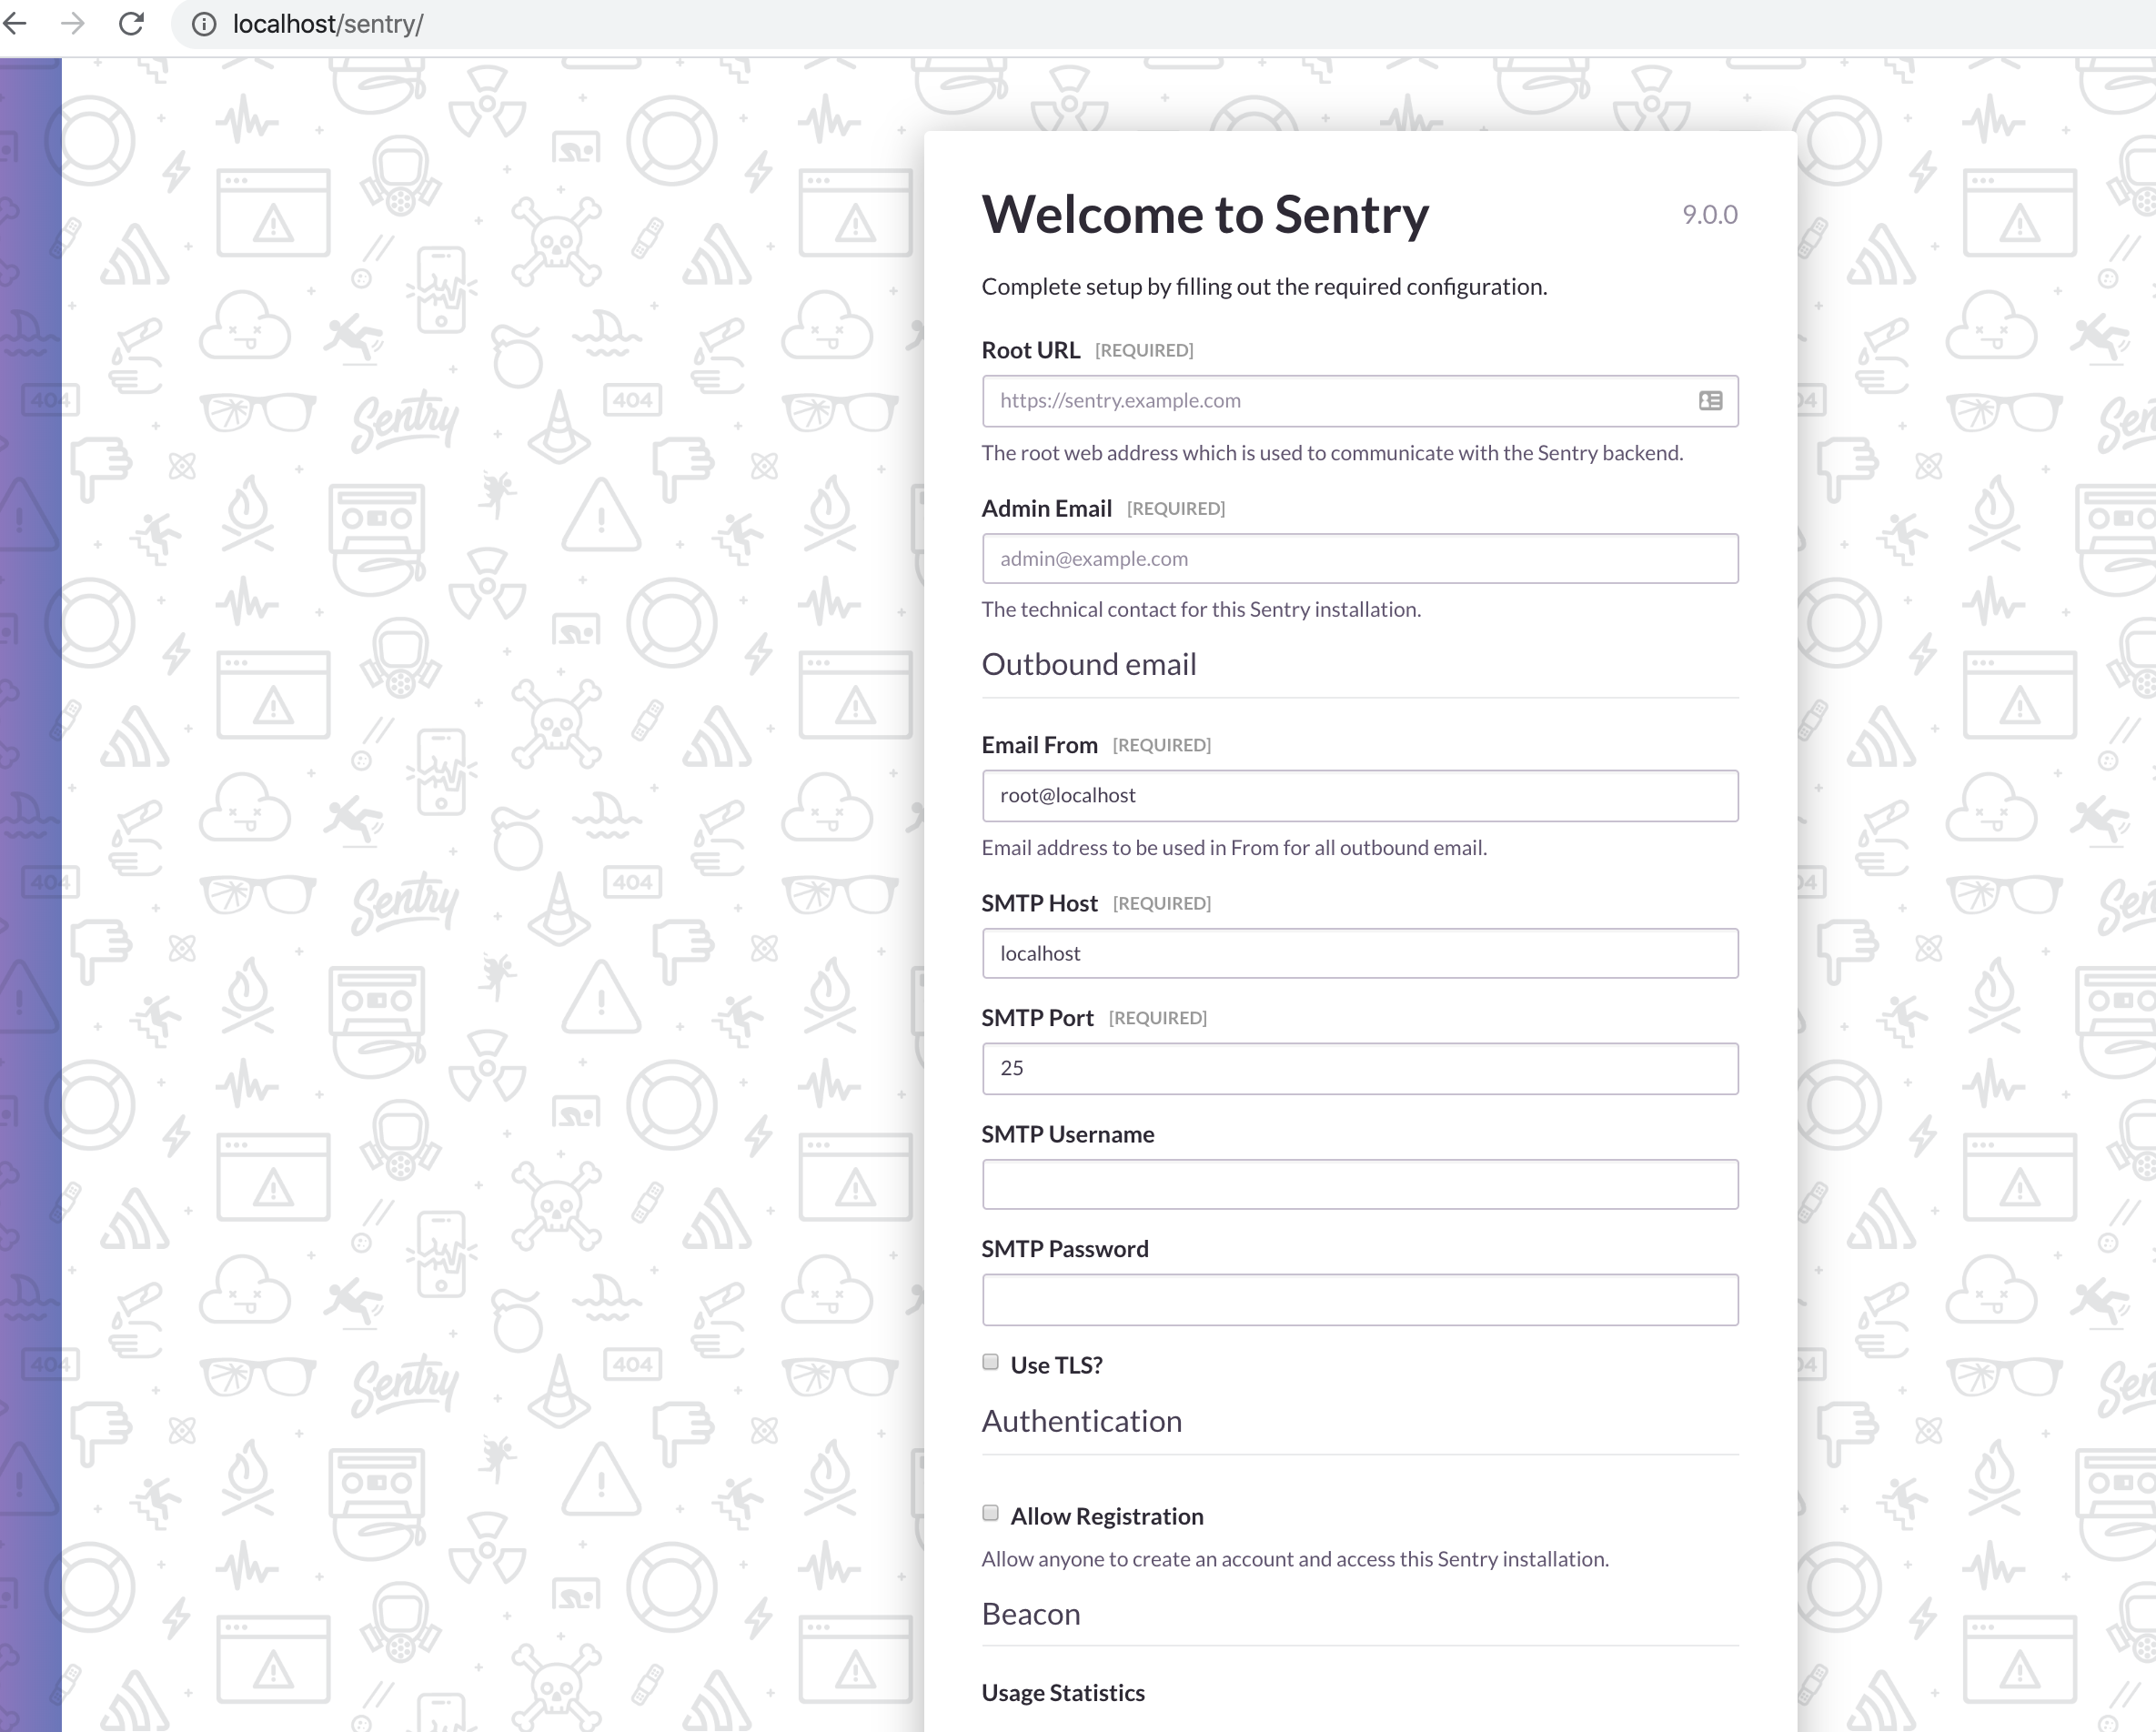
sentry init /etc/sentry
|
1
2
3
4
5
6
|
## create database and user
sudo -u postgres psql template1
template1=# CREATE DATABASE sentry;
template1=# CREATE USER sentry WITH PASSWORD 'sentry';
template1=# GRANT ALL PRIVILEGES ON DATABASE sentry to sentry;
template1=# \q
|
1
|
psql -h localhost -U sentry
|
1
2
3
4
5
6
7
8
|
sudo vim /etc/sentry/sentry.conf.py
# update below entries
- DATABASES - name, user, password, host
- SENTRY_WEB_PORT - 10000
- SENTRY_WEB_OPTIONS - workers 3
# add below line in /etc/sentry/sentry.conf.py to disable uesr registration and set timezone
SENTRY_FEATURES["auth:register"] = False
SENTRY_DEFAULT_TIME_ZONE = 'Asia/Kolkata'
|
1
2
3
4
5
6
|
sudo -u postgres psql

postgres=# \c sentry
You are now connected to database "sentry" as user "postgres".
sentry=# CREATE EXTENSION IF NOT EXISTS citext;
CREATE EXTENSION
|
1
2
3
4
5
6
|
cd /opt/sentry/
source venv/bin/activate


SENTRY_CONF=/etc/sentry sentry upgrade
>> select Y for creating superuser
|
 1
 2
 3
 4
 5
 6
 7
 8
 9
10
11
12
13
14
15
16
17
18
19
20
21
22
23
24
25
26
27
28
29
30
31
32
33
34
35
36
37
38
39
40
41
|
sudo mkdir -p /var/log/gunicorn/

sudo vim /etc/supervisor/conf.d/sentry.conf

[program:sentry-web]
directory=/opt/sentry/
environment=SENTRY_CONF="/etc/sentry"
command=/opt/sentry/venv/bin/sentry run web
autostart=true
autorestart=true
redirect_stderr=true
stdout_logfile=/var/log/gunicorn/sentry-web-std.log
stderr_logfile=/var/log/gunicorn/sentry-web-err.log

[program:sentry-worker]
directory=/opt/sentry/
environment=SENTRY_CONF="/etc/sentry"
command=/opt/sentry/venv/bin/sentry run worker
user=sentry
autostart=true
autorestart=true
redirect_stderr=true
stdout_logfile=/var/log/gunicorn/sentry-worker-std.log
stderr_logfile=/var/log/gunicorn/sentry-worker-err.log

[program:sentry-cron]
directory=/opt/sentry/
environment=SENTRY_CONF="/etc/sentry"
command=/opt/sentry/venv/bin/sentry run cron
autostart=true
autorestart=true
redirect_stderr=true
stdout_logfile=/var/log/gunicorn/sentry-cron-std.log
stderr_logfile=/var/log/gunicorn/sentry-cron-err.log


sudo supervisorctl shutdown

sudo supervisord -c /etc/supervisord.conf

sudo supervisorctl status
|
1
2
3
4
5
6
7
8
9
|
# nginx installation
sudo vim /etc/yum.repos.d/nginx.repo
[nginx]
name=nginx repo
baseurl=http://nginx.org/packages/centos/6/$basearch/
gpgcheck=0
enabled=1

sudo yum -y install nginx
|
1
|
sudo service nginx start
|
 1
 2
 3
 4
 5
 6
 7
 8
 9
10
11
12
13
14
15
16
17
18
19
20
21
22
23
24
25
26
27
28
29
30
31
32
33
34
35
|
# remove default nginx config file
sudo rm /etc/nginx/conf.d/default.conf
sudo vim /etc/nginx/conf.d/sentry.conf
------
upstream rd_servers {
server 127.0.0.1:10000;
}
server {
server_tokens off;
listen 80 default;
access_log /var/log/nginx/rd.access.log;
gzip on;
gzip_types *;
gzip_proxied any;
location / {
proxy_set_header Host $http_host;
proxy_set_header X-Real-IP $remote_addr;
proxy_set_header X-Forwarded-For $proxy_add_x_forwarded_for;
proxy_set_header X-Forwarded-Proto $scheme;
proxy_pass http://rd_servers;
}
}
-------
# restart nginx
sudo service nginx restart
# access site
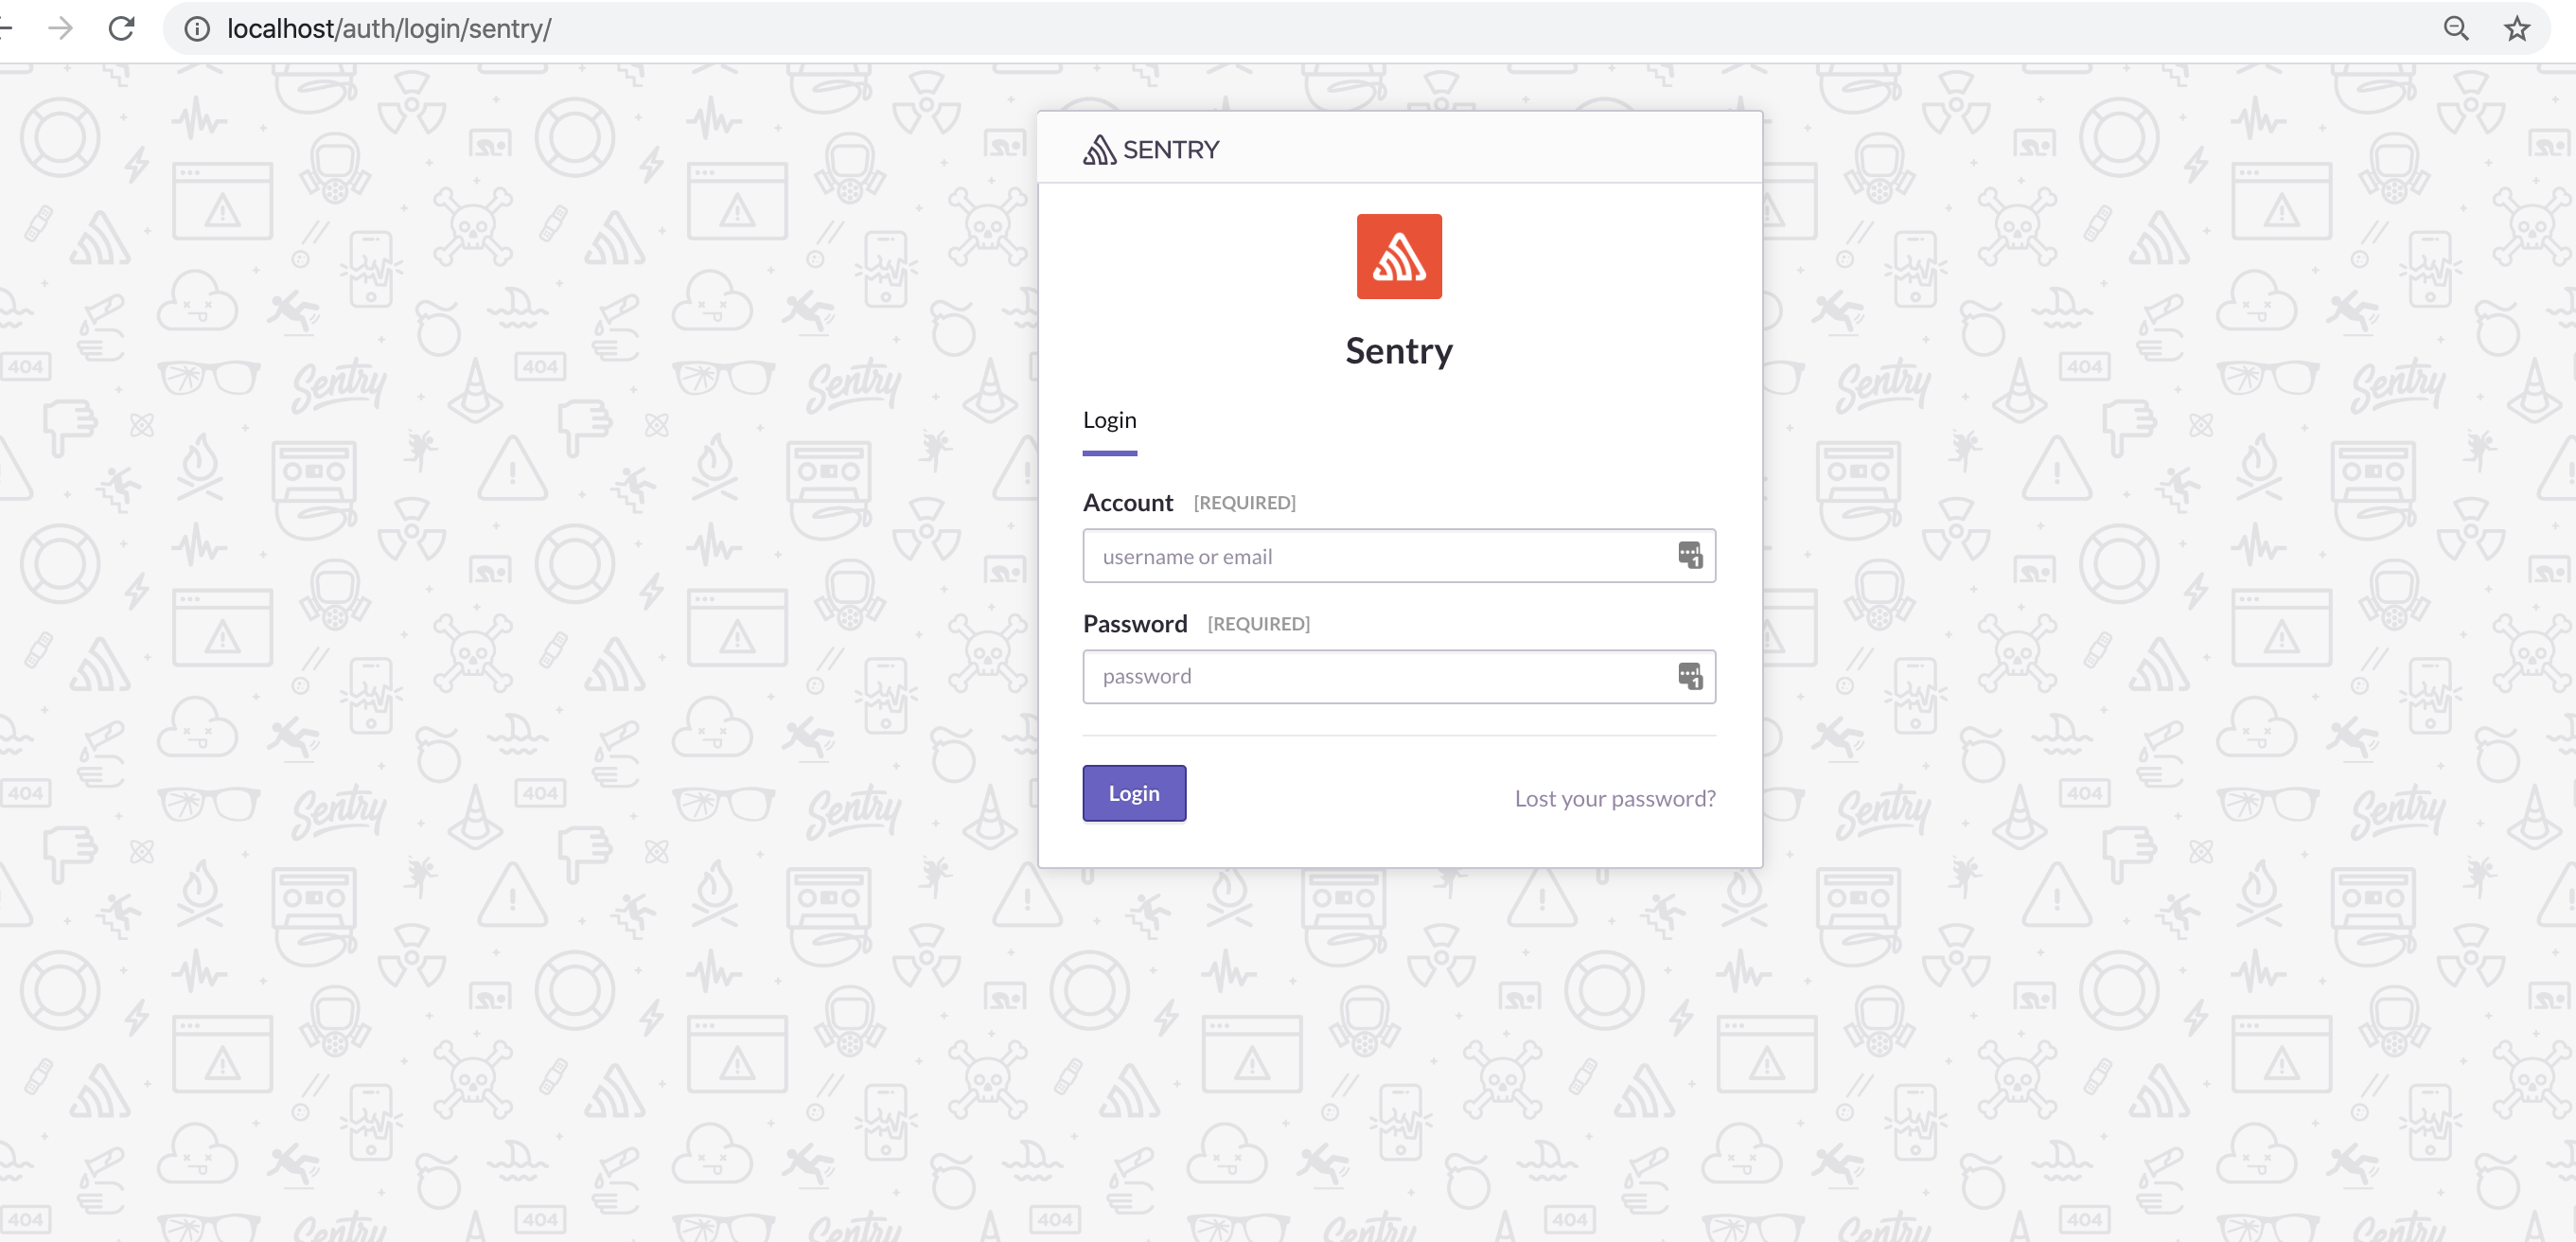
http://localhost/
|
1
2
|
cd to virtual environment and activate it
./bin/sentry --config=/etc/sentry/ cleanup --days=30
|
1
2
3
|
cd /opt/sentry/
source venv/bin/activate
pip install --upgrade sentry
|
1
|
SENTRY_CONF=/etc/sentry sentry upgrade
|
1
2
3
|
sudo supervisorctl shutdown
sudo /usr/bin/supervisord -c /etc/supervisord.conf
sudo supervisorctl status
|
Below is the docker container used for testing above scripts. Make sure that the allocated RAM to docker is more than 5GB (Docker > Preferences > Resouces - Memory). Otherwise the container will be limited to the max docker RAM size.
1
|
docker run -t -d --memory="5g" --name sentry -p 80:80 centos:6.8
|