In this step-by-step guide, we will install and configure Redash on CentOS 6. Redash is an open source software which is used to query, visualize and share data. It can be connected to a number of sources (e.g. MySQL, PostgreSQL, MongoDB etc.) to collect data.
Redash helps you to make your company data driven. Using it, dashboard and charts can be created easily and shared across team. This helps to develop a culture inside company which depends on metrics and analytics. The catch here is not to analyse data ‘for sake of it’ and choose the right metrics for analysis.
In God We Trust, All Others Bring Data – W. Edwards Deming
Redash provides a provisioning script for Ubuntu 16.04. They also provide images for AWS, Google Compute Cloud and Docker. But, they have discontinued Amazon Linux AMI support and no provisioning scripts are available for CentOS. If you are running a production environment, it is often advisable to get along with the platform supported by redash.
Since we too _like to live dangerously, in this tutorial we will install redash on a newly created CentOS instance. _
Do you pine for the days when men were men and wrote their own device drivers? – Linus Torvalds
Why to install on CentOS 6 when it’s not a supported platform?
Ian: Your scientists were so preoccupied with whether or not they could, they didn’t stop to think if they should. – Jurassic Park
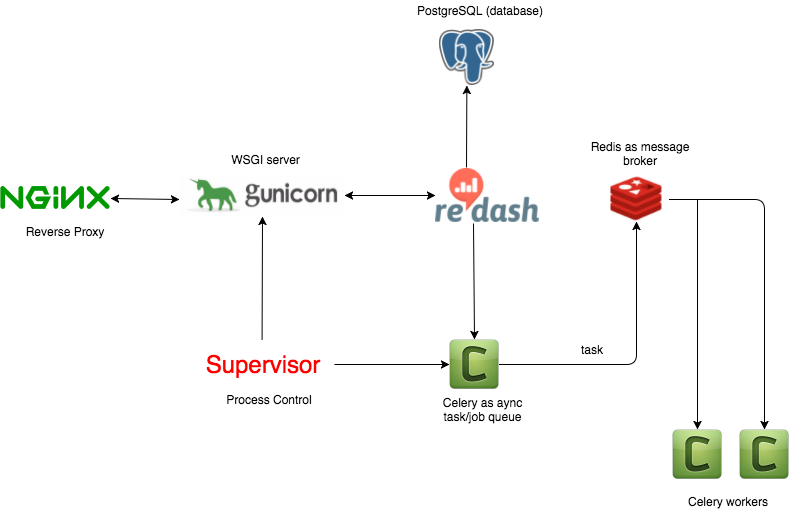
Architecture Diagram:
Minimum 4GB RAM is required for building and running Redash. We will install below software packages first:
1
2
3
|
sudo yum -y install epel-release
sudo yum -y install pwgen gcc-c++ libffi-devel openssl-devel xmlsec1 xmlsec1-openssl freetds freetds-devel wget vim git
sudo yum -y install mysql-devel
|
1
|
sudo useradd redash -r -s /sbin/nologin
|
1
2
3
4
5
6
7
8
|
sudo yum install -y tcl
cd /tmp/
wget http://download.redis.io/releases/redis-3.2.6.tar.gz
tar xzf redis-3.2.6.tar.gz
cd redis-3.2.6
make
make test
sudo make install
|
Execute install script to generate redis config file, /etc/init.d script, install them and run redis server.
1
2
3
4
5
|
sudo REDIS_PORT=6379 \
     REDIS_CONFIG_FILE=/etc/redis/6379.conf \
     REDIS_LOG_FILE=/var/log/redis_6379.log \
     REDIS_DATA_DIR=/var/lib/redis/6379 \
     REDIS_EXECUTABLE=/usr/local/bin/redis-server ./utils/install_server.sh
|
Set overcommit_memory to 1 (always overcommit, never check)
1
2
3
4
5
6
7
8
|
sudo sysctl vm.overcommit_memory=1

# to make the change permanent
# open sysctl.conf for editing
sudo vim /etc/sysctl.conf

# add below line
vm.overcommit_memory=1
|
Redis guidances on why vm.overcommit_memory should be set to 1.
Install Postres using rpm :
1
2
|
sudo yum -y install https://download.postgresql.org/pub/repos/yum/reporpms/EL-6-x86_64/pgdg-redhat-repo-latest.noarch.rpm
sudo yum -y install postgresql95-server postgresql95 libpqxx-devel postgresql-devel
|
Initialize database environment:
1
|
sudo service postgresql-9.5 initdb
|
Configure it to start at boot up and start the software:
1
2
|
sudo chkconfig postgresql-9.5 on
sudo service postgresql-9.5 start
|
Python 2.7 installation
 1
 2
 3
 4
 5
 6
 7
 8
 9
10
11
12
|
sudo yum -y install sqlite-devel zlib zlib-devel gcc httpd-devel bzip2-devel openssl openssl-devel
cd /tmp/
wget https://www.python.org/ftp/python/2.7.15/Python-2.7.15.tgz
tar zxvf Python-2.7.15.tgz
cd Python-2.7.15
./configure --prefix=/usr/local --with-threads --enable-shared --with-zlib=/usr/include
make
sudo make altinstall

sudo sh -c "echo '/usr/local/lib' >> /etc/ld.so.conf.d/python2.7.conf"
sudo /sbin/ldconfig
sudo ln -sfn /usr/local/bin/python2.7 /usr/bin/python2.7
|
Pip installation for Python 2.7
1
2
3
4
|
cd /tmp/
curl https://bootstrap.pypa.io/get-pip.py -o get-pip.py
sudo python2.7 get-pip.py
sudo ln -sfn /usr/local/bin/pip2.7 /usr/bin/pip2.7
|
Supervisor installation
1
2
3
4
5
6
|
sudo pip2.7 install supervisor

sudo ln -sfn /usr/local/bin/supervisord /usr/bin/supervisord
sudo ln -sfn /usr/local/bin/supervisorctl /usr/bin/supervisorctl

sudo mkdir -p /etc/supervisor/conf.d/
|
create configuration file
1
|
sudo sh -c "/usr/local/bin/echo_supervisord_conf >> /etc/supervisord.conf"
|
config update
1
2
3
4
5
|
sudo vim /etc/supervisord.conf

add below lines:
[include]
files = /etc/supervisor/conf.d/*.conf
|
start supervisor
1
|
sudo /usr/bin/supervisord -c /etc/supervisord.conf
|
 1
 2
 3
 4
 5
 6
 7
 8
 9
10
11
12
13
|
# make sure pwgen is installed
sudo yum -y install epel-release
sudo yum -y install pwgen

sudo mkdir -p /opt/redash/
sudo chown redash /opt/redash/

sudo -u redash touch /opt/redash/.env

sudo sh -c "echo 'export REDASH_LOG_LEVEL=\"INFO\"' >> /opt/redash/.env"
sudo sh -c "echo 'export REDASH_REDIS_URL=redis://localhost:6379/0' >> /opt/redash/.env"
sudo sh -c "echo 'export REDASH_DATABASE_URL=\"postgresql:///redash\"' >> /opt/redash/.env"
sudo sh -c "echo 'export REDASH_COOKIE_SECRET=$(pwgen -1s 32)' >> /opt/redash/.env"
|
 1
 2
 3
 4
 5
 6
 7
 8
 9
10
11
12
13
|
# set variables for current shell
REDASH_BASE_PATH=/opt/redash
REDASH_VERSION=8.0.0
LATEST_URL=https://github.com/getredash/redash/archive/v${REDASH_VERSION}.tar.gz
VERSION_DIR=$REDASH_BASE_PATH/redash.${REDASH_VERSION}
REDASH_TARBALL=/tmp/redash.tar.gz

# run below commands for extracting redash source
sudo -u redash wget "$LATEST_URL" -O "$REDASH_TARBALL"
sudo -u redash tar -C "$REDASH_BASE_PATH" -xvf "$REDASH_TARBALL"
sudo -u redash mv ${REDASH_BASE_PATH}/redash-* ${VERSION_DIR}
sudo -u redash ln -nfs "$VERSION_DIR" $REDASH_BASE_PATH/current
sudo -u redash ln -nfs $REDASH_BASE_PATH/.env $REDASH_BASE_PATH/current/.env
|
installing virtualenv
1
2
|
sudo pip2.7 install virtualenv
sudo ln -sfn /usr/local/bin/virtualenv /usr/bin/virtualenv2.7
|
creating virtual environment in redash version directory
1
|
sudo -u redash virtualenv2.7 /opt/redash/redash.${REDASH_VERSION}/venv/
|
We will install the python packages in virtual environment created in venv directory inside redash.
1
2
3
4
5
6
7
8
|
# run below commands
sudo -u redash $REDASH_BASE_PATH/redash.$REDASH_VERSION/venv/bin/pip install --cache-dir $REDASH_BASE_PATH/cache/pip --upgrade pip

sudo -u redash $REDASH_BASE_PATH/redash.$REDASH_VERSION/venv/bin/pip install --cache-dir $REDASH_BASE_PATH/cache/pip setproctitle

sudo -u redash $REDASH_BASE_PATH/redash.$REDASH_VERSION/venv/bin/pip install --cache-dir $REDASH_BASE_PATH/cache/pip -r $REDASH_BASE_PATH/redash.$REDASH_VERSION/requirements.txt

sudo -u redash $REDASH_BASE_PATH/redash.$REDASH_VERSION/venv/bin/pip --cache-dir $REDASH_BASE_PATH/cache/pip install -r $REDASH_BASE_PATH/redash.$REDASH_VERSION/requirements_all_ds.txt
|
creating database
1
2
|
sudo -u postgres createuser redash --no-superuser --no-createdb --no-createrole
sudo -u postgres createdb redash --owner=redash
|
creating redash tables
1
2
3
4
5
6
|
sudo -u redash bash
cd /opt/redash/current
source venv/bin/activate
bin/run ./manage.py database create_tables
deactivate
exit
|
 1
 2
 3
 4
 5
 6
 7
 8
 9
10
11
12
13
14
15
16
|
# set variables for current shell
FILES_BASE_URL=https://raw.githubusercontent.com/getredash/redash/v4.0.0/setup/ubuntu/files

# download config file
sudo wget -O /etc/supervisor/conf.d/redash.conf "$FILES_BASE_URL/supervisord.conf"

change path for gunicorn and celery to /opt/redash/current/venv/bin/gunicorn and /opt/redash/current/venv/bin/celery (3 places) in /etc/supervisor/conf.d/redash.conf

# stop supervisor if already running
sudo supervisorctl shutdown

# start supervisor with new config
sudo supervisord -c /etc/supervisord.conf

# checking status
sudo supervisorctl status
|
installation
1
2
3
4
5
6
7
8
9
|
# nginx installation
sudo vim /etc/yum.repos.d/nginx.repo
[nginx]
name=nginx repo
baseurl=http://nginx.org/packages/centos/6/$basearch/
gpgcheck=0
enabled=1

sudo yum -y install nginx
|
starting nginx server
1
|
sudo service nginx start
|
adding configuration file for redash
 1
 2
 3
 4
 5
 6
 7
 8
 9
10
11
12
13
14
|
# remove default nginx config file
sudo rm /etc/nginx/conf.d/default.conf

# set variables for current shell
FILES_BASE_URL=https://raw.githubusercontent.com/getredash/redash/v4.0.0/setup/ubuntu/files

# run below command to download config file from redash server
sudo wget -O /etc/nginx/conf.d/redash.conf "$FILES_BASE_URL/nginx_redash_site"
# restart nginx
sudo service nginx restart

# access site
# we will build frontend code in step 13
http://localhost/
|
if you see 502 Bad Gateway erorr on accessing website, check error logs: /var/log/nginx/error.log
1
2
3
|
2018/09/14 22:50:23 [crit] 4323#4323: *1 connect() to 127.0.0.1:5000 failed
(13: Permission denied) while connecting to upstream, client: 127.0.0.1,
server: , request: "GET / HTTP/1.1", upstream: "http://127.0.0.1:5000/", host: "localhost"
|
To fix this:
1
|
sudo setsebool -P httpd_can_network_connect 1
|
node installation
1
2
|
curl -sL https://rpm.nodesource.com/setup_10.x | sudo -E bash -
sudo yum -y install nodejs
|
node setup
1
2
3
4
5
6
7
8
9
|
mkdir -p /home/redash/
chown -R redash:redash /home/redash/

cd /opt/redash/current
sudo -u redash npm install
sudo -u redash npm install caniuse-lite browserslist
sudo -u redash npm run build
# if terminal just hangs on above script make sure you have enough RAM (minimum 4GB)
# https://discuss.redash.io/t/error-while-install-redash-npm-run-build-with-node-6277-deprecationwarning-tapable-plugin-is-deprecated-use-new-api-on-hooks-instead-killed-npm-err-code-elifecycle-npm-err-errno-137/2915
|
Access site (http://localhost) again and it should show redash webpage now.
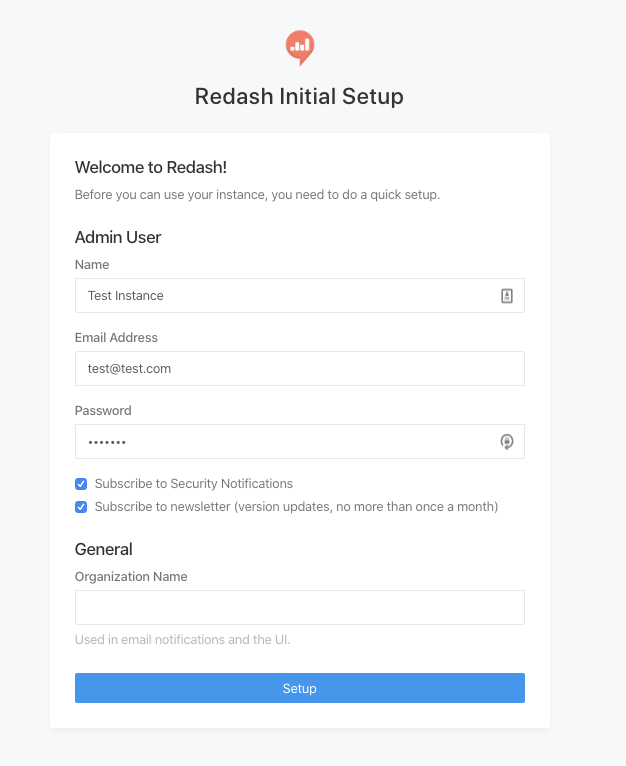
Access (http://localhost) and it redirect to setup page.
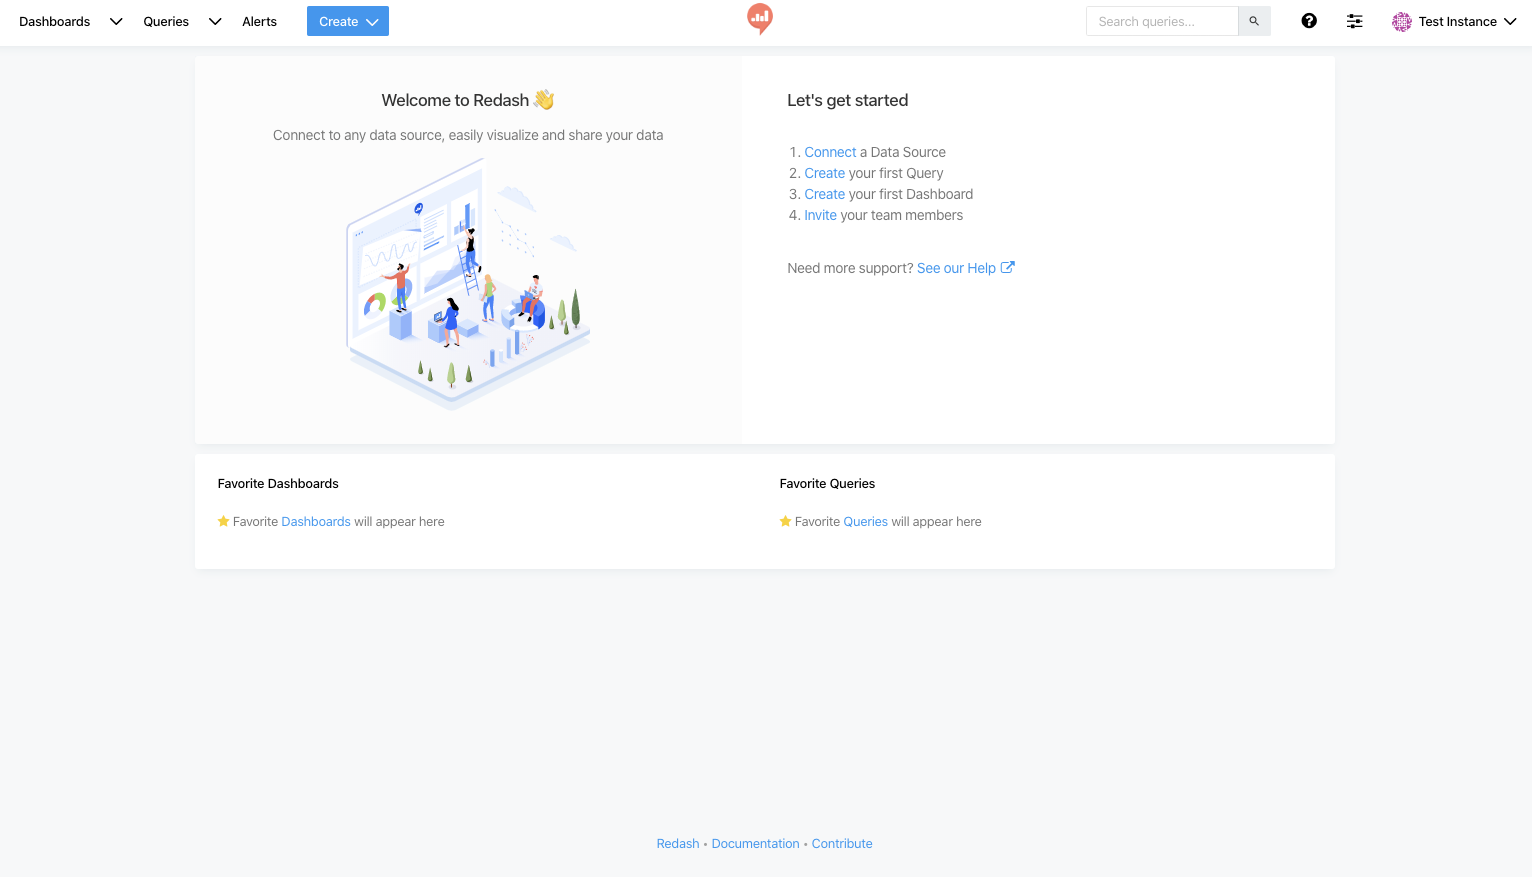
Home page
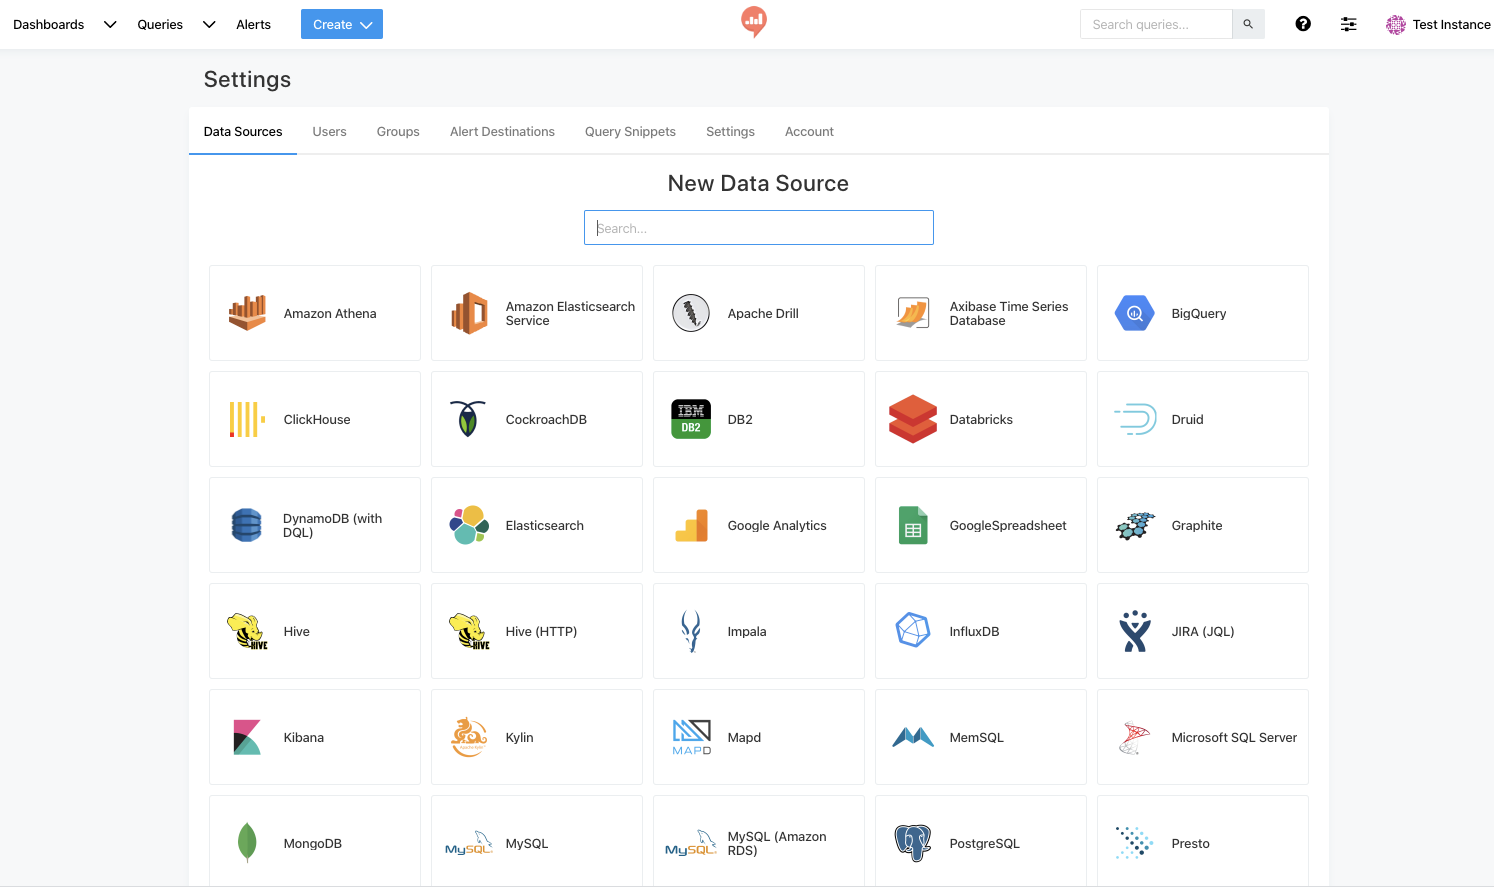
Setup datasources (MySQL, Google Analytics etc.)
Backup current database before running upgrade
1
|
sudo -u redash /usr/pgsql-9.5/bin/pg_dump redash | gzip > backup_redash_20181218.gz
|
Download latest version
 1
 2
 3
 4
 5
 6
 7
 8
 9
10
11
12
13
|
# set variables for current shell
# update REDASH_VERSION to latest that needs to be installed
# set variables for current shell
REDASH_BASE_PATH=/opt/redash
REDASH_VERSION=8.0.0
LATEST_URL=https://github.com/getredash/redash/archive/v${REDASH_VERSION}.tar.gz
VERSION_DIR=$REDASH_BASE_PATH/redash.${REDASH_VERSION}
REDASH_TARBALL=/tmp/redash.tar.gz

# run below commands for extracting redash source
sudo -u redash wget "$LATEST_URL" -O "$REDASH_TARBALL"
sudo -u redash tar -C "$REDASH_BASE_PATH" -xvf "$REDASH_TARBALL"
sudo -u redash mv ${REDASH_BASE_PATH}/redash-* ${VERSION_DIR}
|
create virtual environment
1
|
sudo -u redash virtualenv2.7 $VERSION_DIR/venv/
|
install dependencies
1
2
3
4
5
|
# run below commands
sudo -u redash $VERSION_DIR/venv/bin/pip install --cache-dir $REDASH_BASE_PATH/cache/pip --upgrade pip
sudo -u redash $VERSION_DIR/venv/bin/pip install --cache-dir $REDASH_BASE_PATH/cache/pip setproctitle
sudo -u redash $VERSION_DIR/venv/bin/pip install --cache-dir $REDASH_BASE_PATH/cache/pip -r $VERSION_DIR/requirements.txt
sudo -u redash $VERSION_DIR/venv/bin/pip --cache-dir $REDASH_BASE_PATH/cache/pip install -r $VERSION_DIR/requirements_all_ds.txt
|
link .env file
1
|
sudo -u redash ln -nfs $REDASH_BASE_PATH/.env $VERSION_DIR/.env
|
run migrations (if any)
 1
 2
 3
 4
 5
 6
 7
 8
 9
10
|
REDASH_BASE_PATH=/opt/redash
REDASH_VERSION=8.0.0
VERSION_DIR="$REDASH_BASE_PATH/redash.${REDASH_VERSION}"

sudo -u redash bash
cd $VERSION_DIR
source venv/bin/activate
bin/run ./manage.py db upgrade
deactivate
exit
|
update symlink
1
|
sudo -u redash ln -nfs $VERSION_DIR $REDASH_BASE_PATH/current
|
restart supervisor
1
|
sudo supervisorctl restart all
|
build frontend cdeo
1
2
3
4
|
cd /opt/redash/current
sudo -u redash npm install
sudo -u redash npm install caniuse-lite browserslist
sudo -u redash npm run build
|
cleaning queues
1
2
3
|
if there are many query tasks are in queue, run below command to clean the queue

redis-cli flushall
|
Few other resources and references:
Below is the docker container used for testing above scripts. Make sure that the allocated RAM to docker is more than 5GB (Docker > Preferences > Resouces - Memory). Otherwise the container will be limited to the max docker RAM size.
1
|
docker run -t -d --memory="5g" --name redash -p 80:80 centos:6.8
|