In this step-by-step guide we will show you how to install and configure Apache, PHP, MySQL & phpMyAdmin on macOS .
Apache & PHP are pre-installed in macOS. This guide illustrates Apache & PHP related configuration and MySQL & phpMyAdmin installation steps.
Configuring Apache
| Path | |
|---|---|
| Document Root | /Library/WebServer/Documents/ |
| Configuration File | /etc/apache2/httpd.conf |
| Access Log | /var/log/apache2/access_log |
| Error Log | /var/log/apache2/error_log |
| vhost file (uncomment in httpd.conf) | /private/etc/apache2/extra/httpd-vhosts.conf |
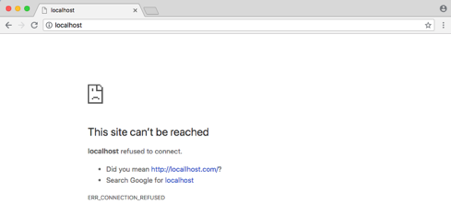
Apache is pre-installed in macOS. To check if apache is running, open web browser and access http://localhost
If you receive below error, it means apache is currently not running.
|
|
To start apache, run below command:
|
|
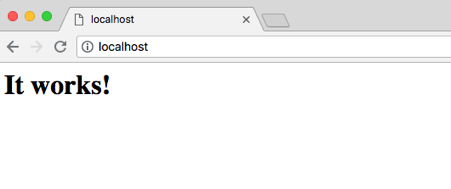
Now access http://localhost again and it should show a webpage with message “It works!”
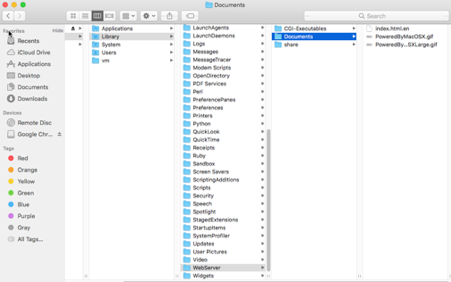
In macOS, apache document root is located at: /Library/WebServer/Documents/
Below screenshot displays the location:
|
|
To check apache version, run below command in terminal:
|
|
To start/stop server, run below commands in terminal:
|
|
In default configuration, apache runs on port 80. You can change the port by modifying httpd.conf file.
For changing default port, open httpd.conf
|
|
Modify Listen 80 to Listen 8888 (or any other desired port) and save the changes.
|
|
Now restart apache for configuration changes to take effect.
|
|
Access http://localhost:8888/ in your browser and apache default page should be displayed.
Below is the recored terminal session showing setup and configuration steps for apache:
Configuring PHP
PHP is installed by default in macOS. We will update configuration files to integrate php support in apache. Without this configuration, apache will not be able to process and execute php files.
To test the configuration, create a new test.php in apache document root location.
|
|
Add below code in test.php and save the changes:
|
|
Now, access http://localhost/test.php and you will php code only. It means apache is not able to execute php code yet.
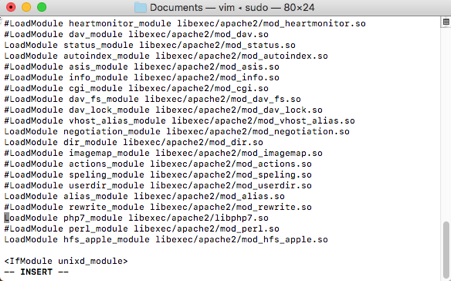
To configure apache with PHP, open httpd.conf file and uncomment as mentioned below and save the changes:
|
|
Now, restart apache for the configuration changes to take effect.
|
|
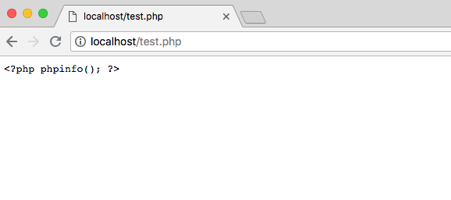
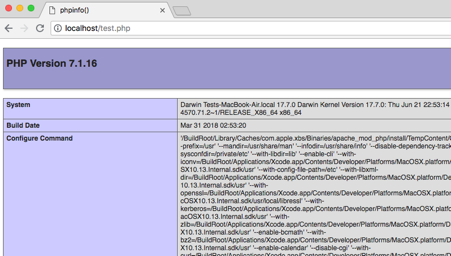
Access http://localhost/test.php in browser again and it should now display php information.
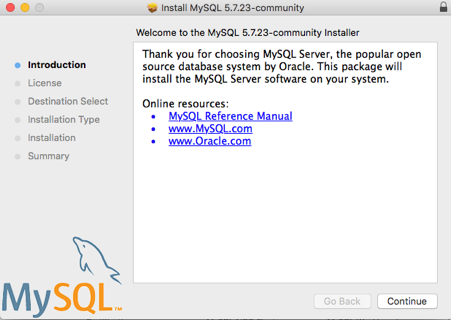
Installing MySQL
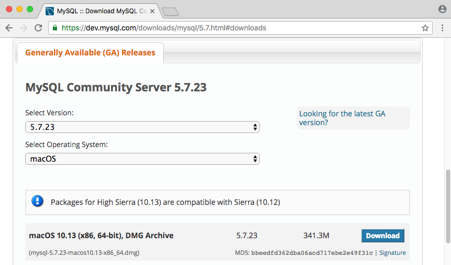
We are installing MySQL Community Server 5.7.23. If you want to install the latest version, you can still follow below tutorial. The installation process should remain the same.
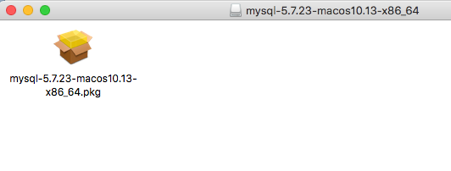
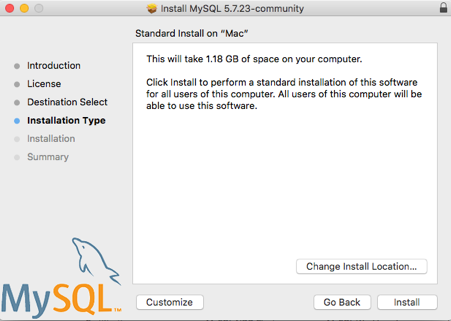
Download mysql-5.7.23-macos10.13-x86_64.dmg (macOS 10.13 (x86, 64-bit), DMG Archive). Double click on downloaded dmg file to start the installation.
mysql-5.7.23-macos10.13-x86_64.dmg
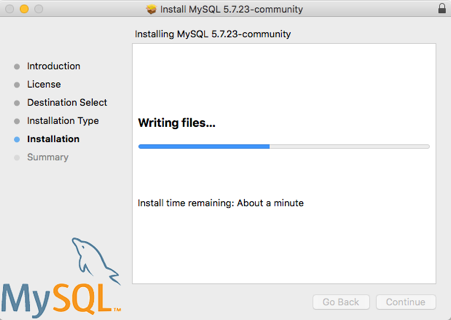
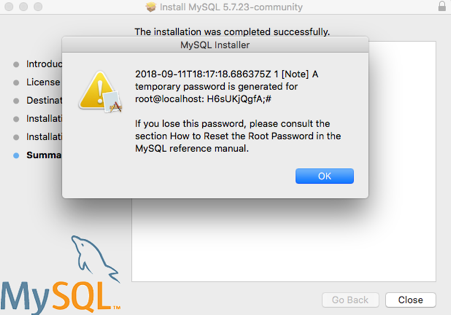
Installation steps are simple and does’t require any selection (unless you want to install MySQL to a non standard location)
Note down the temporary password. We will use this later to create a new password for MySQL server.
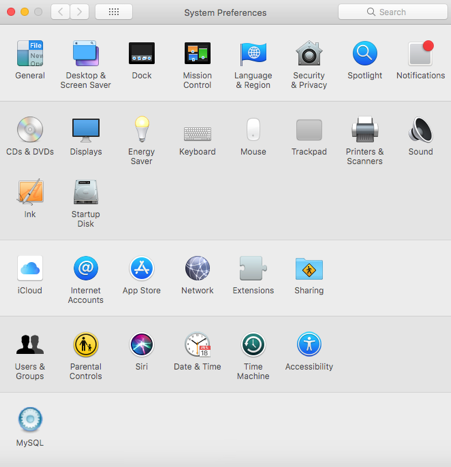
Once installation is finished, open System Preferences. MySQL should be visible in last row in System Preferences.
Click on MySQL icon and a new dialog should open. You should be able to view the current status of MySQL server.
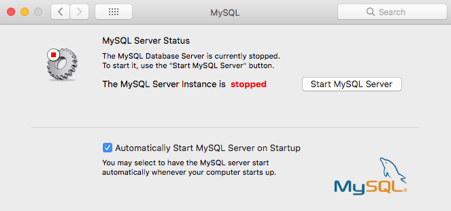
Click “Start MySQL Server” button to start the server. Select checkbox “Automatically Start MySQL Server on Startup” if you want to start MySQL server automatically whenever your computer starts up.
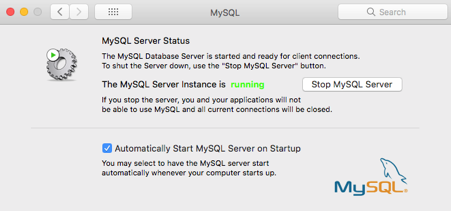
“The MySQL Server instance is running” message will be displayed when the server has started and is ready for client connections.
Run below command in terminal to change MySQL password:
|
|
To check the new password:
|
|
We can set a command shortcut for mysql:
|
|
Now, to access mysql console, we can run below short command:
|
|
Below configuration is need if you have applications like Django & Rails connecting MySQL database.
|
|
Log file location (use below command to find error log location):
|
|
Installing phpMyAdmin
Download the latest version from https://www.phpmyadmin.net/downloads/ . We have downloaded phpMyAdmin 4.8.3 for this tutorial.
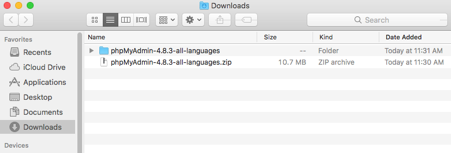
Once downloaded, unzip the package:
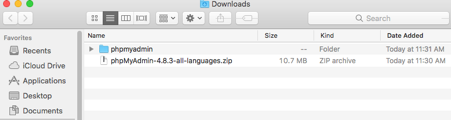
Rename phpMyAdmin-4.8.3-all-languages to phpmyadmin:
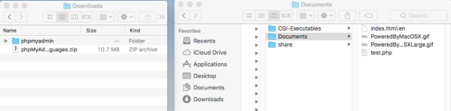
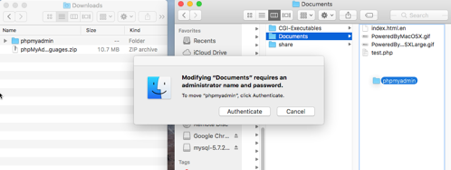
Now, copy phpmyadmin folder to /Library/WebServer/Documents/. Just drag and drop this folder to the new location. You will have to enter admin password for copying the files.
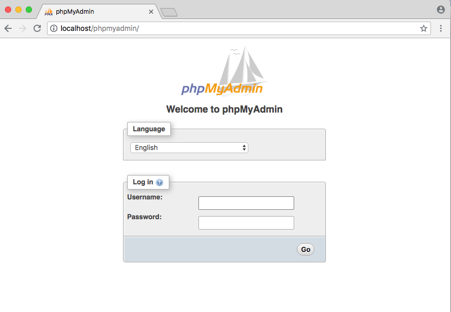
Open http://localhost/phpmyadmin and phpMyAdmin login page is displayed:
Enter username as root and MySQL root password and try to login. You will get below error:
|
|

When the MySQL client connects to localhost, it attempts to use a socket file (a special type of file which allows mysql client/server communication.). MySQL places the socket in /tmp and macOS looks for it in /var/mysql.
To solve this issue, we create a symlink at the location where macOS expects this sock file to be at.
|
|
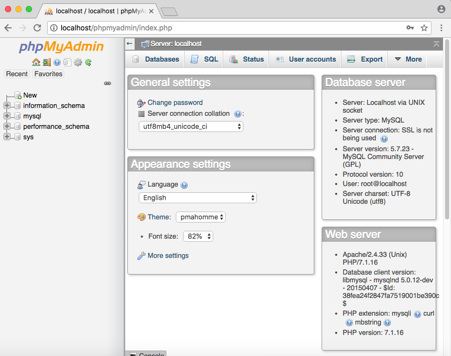
Access http://localhost/phpmyadmin again and enter username root and MySQL root password. Once login, phpMyAdmin dashboard should be visible.
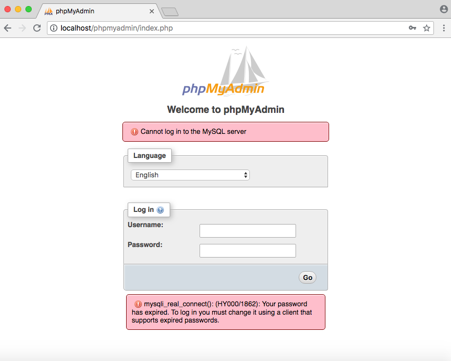
If you get below error instead, it means you are using MySQL temporary password and haven't created a new password yet.
|
|
To fix this, use command line to create a new password:
|
|
Now, access http://localhost/phpmyadmin again and enter MySQL root username and password.